
Table of Contents
When the holiday season rolls around, people start thinking about photos for Christmas and Hanukkah Cards. Even if you aren’t a portrait photographer, friends and family will likely ask you for your services.
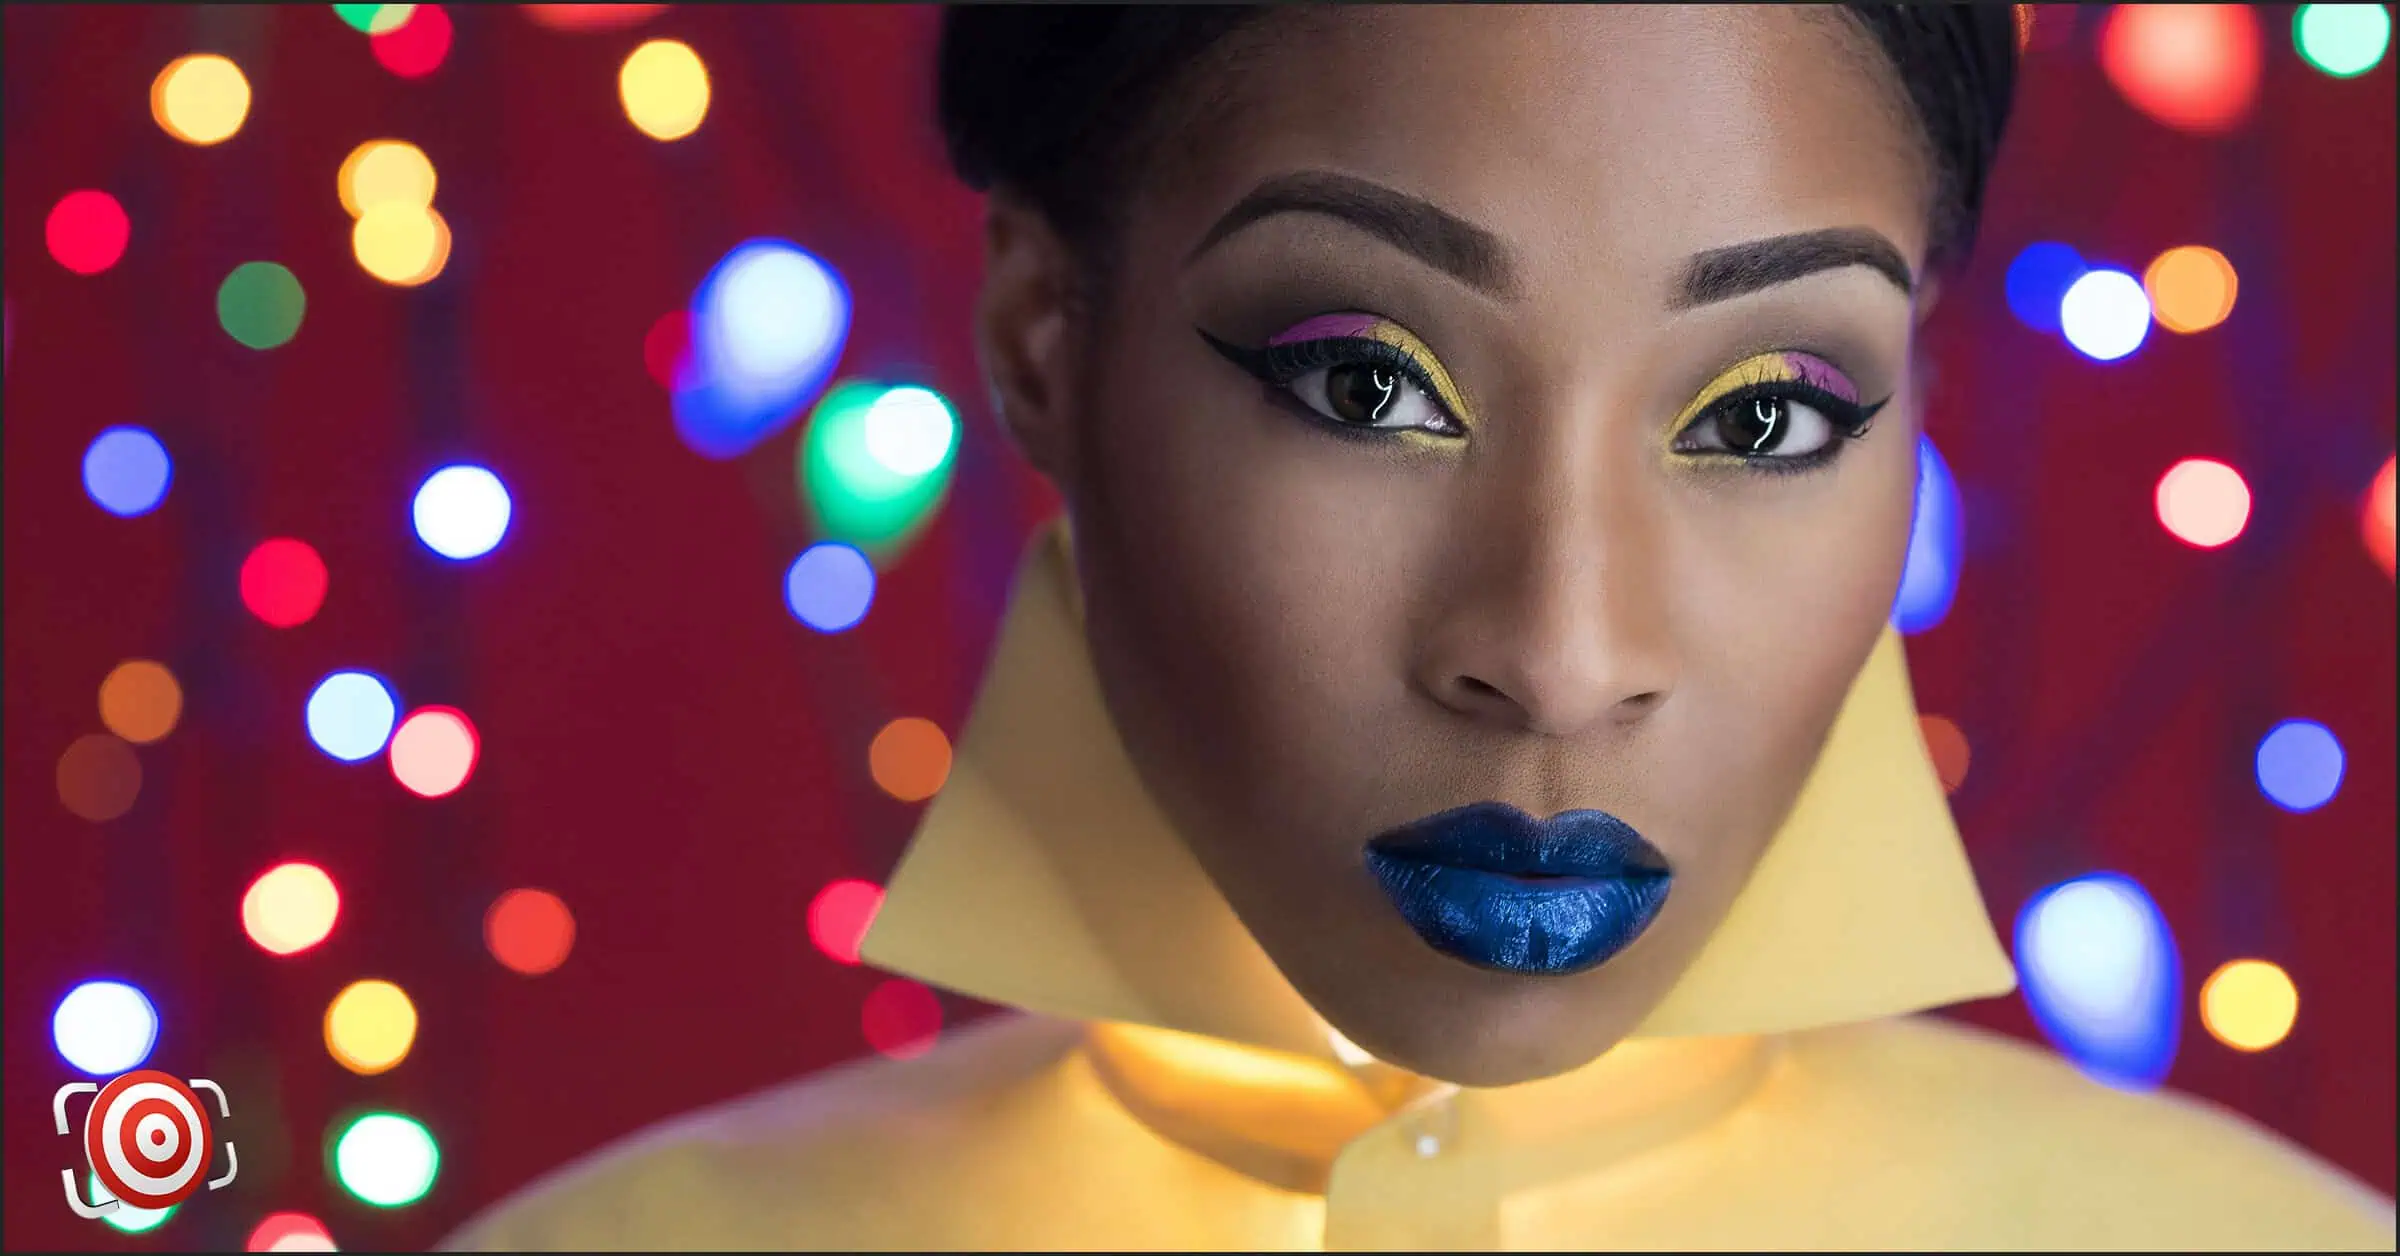
You can do the bare minimum and shoot a boring portrait or family portrait or upgrade your portraits of family and friends these DIY portrait backgrounds, complete with bokeh balls, that you can make for about 10 bucks and a quick trip to your local Dollar Store.
This little DIY portrait background tip is straightforward, and it’s a great trick to have in your toolkit to jazz up your portrait backgrounds any time of the year. All you need is some garland and some foam board.
The DIY Portrait Background Build
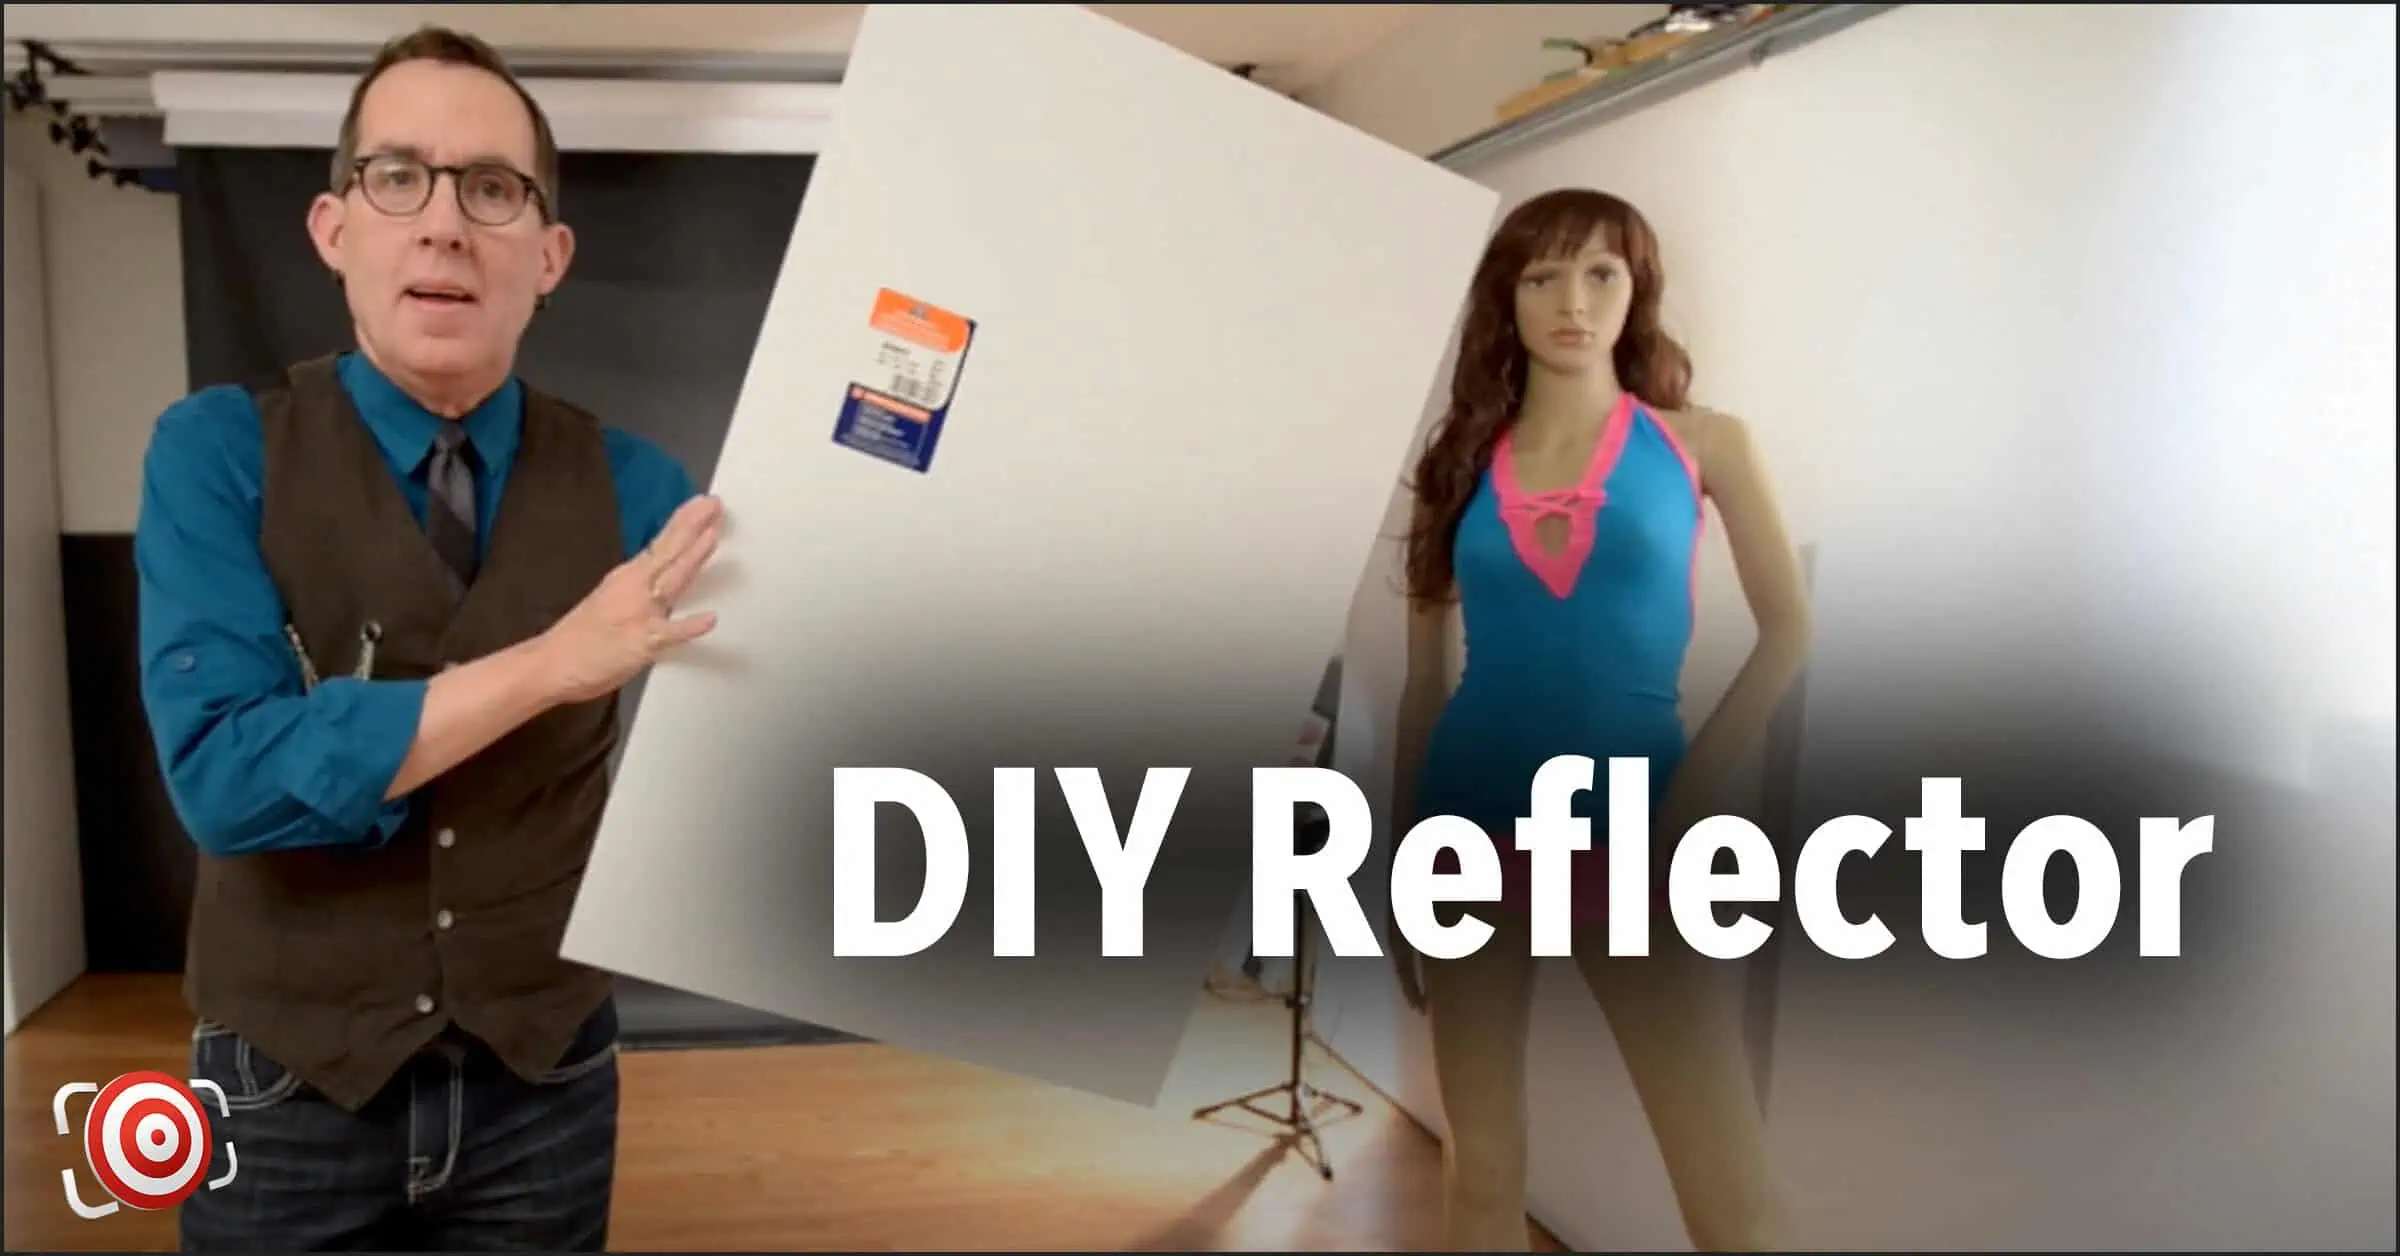
I used three sheets of 20-by-30-inch Foam board. The three I used are black, but you can use white or any color. These are the famous DIY Photography Reflectors that you can get at Walmart or almost any Dollar Store.
I taped the three boards together with black gaffer’s tape, which should be a staple in your studio toolkit. I then mounted them on a stand using a LumoPro reflector holder.
You could also mount them using two stands and make your own DIY Justin Clamps or design your own DIY PVC holder like the ones in this video.
Now that I had my 30in tall by 60in wide DIY portrait background mounted, I started adding the garland. You could use any color of garland, but I went with gold for this example.
I simply draped the garland in front of the board and stapled it at the top. You don’t need to go crazy gluing it in place unless you want it to be permanent. The staples are removed quickly and with no mess.
You may think this background isn’t very tall—I’m shooting horizontally, so it doesn’t need to be. If you want to shoot vertically, just turn it 90 degrees, and it will work great for a vertical portrait.
The Lighting Setup
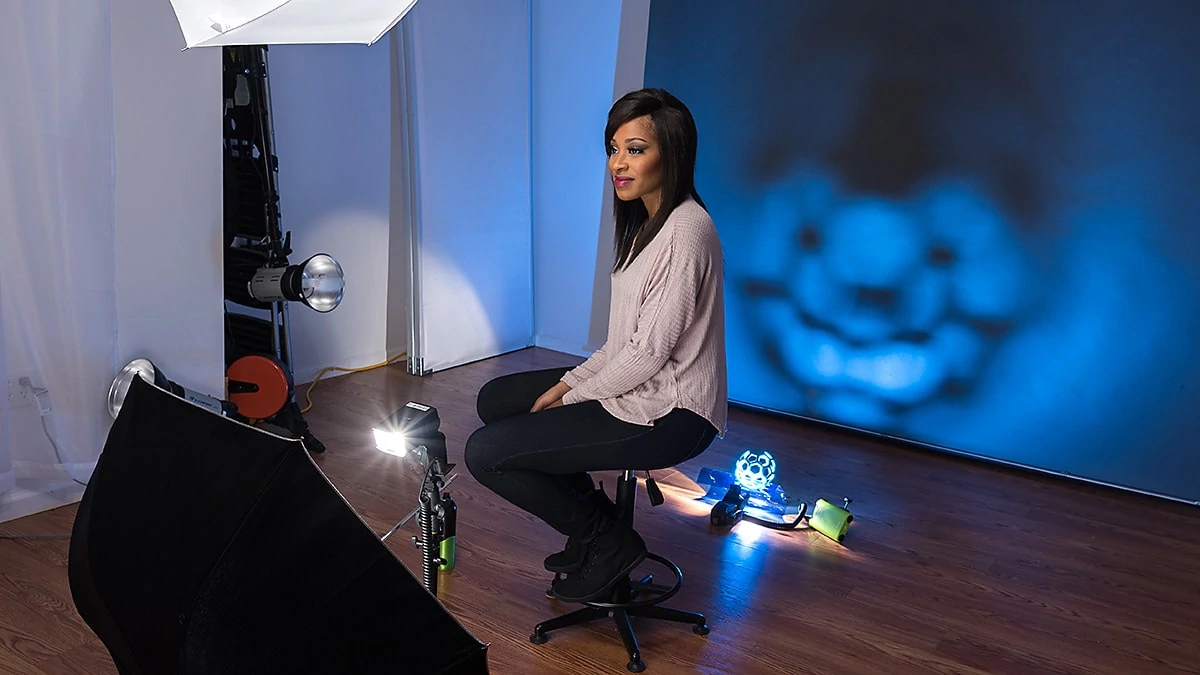
For this series of shots, I went with four Godox AD200 pocket flashes. You could easily do this with two.
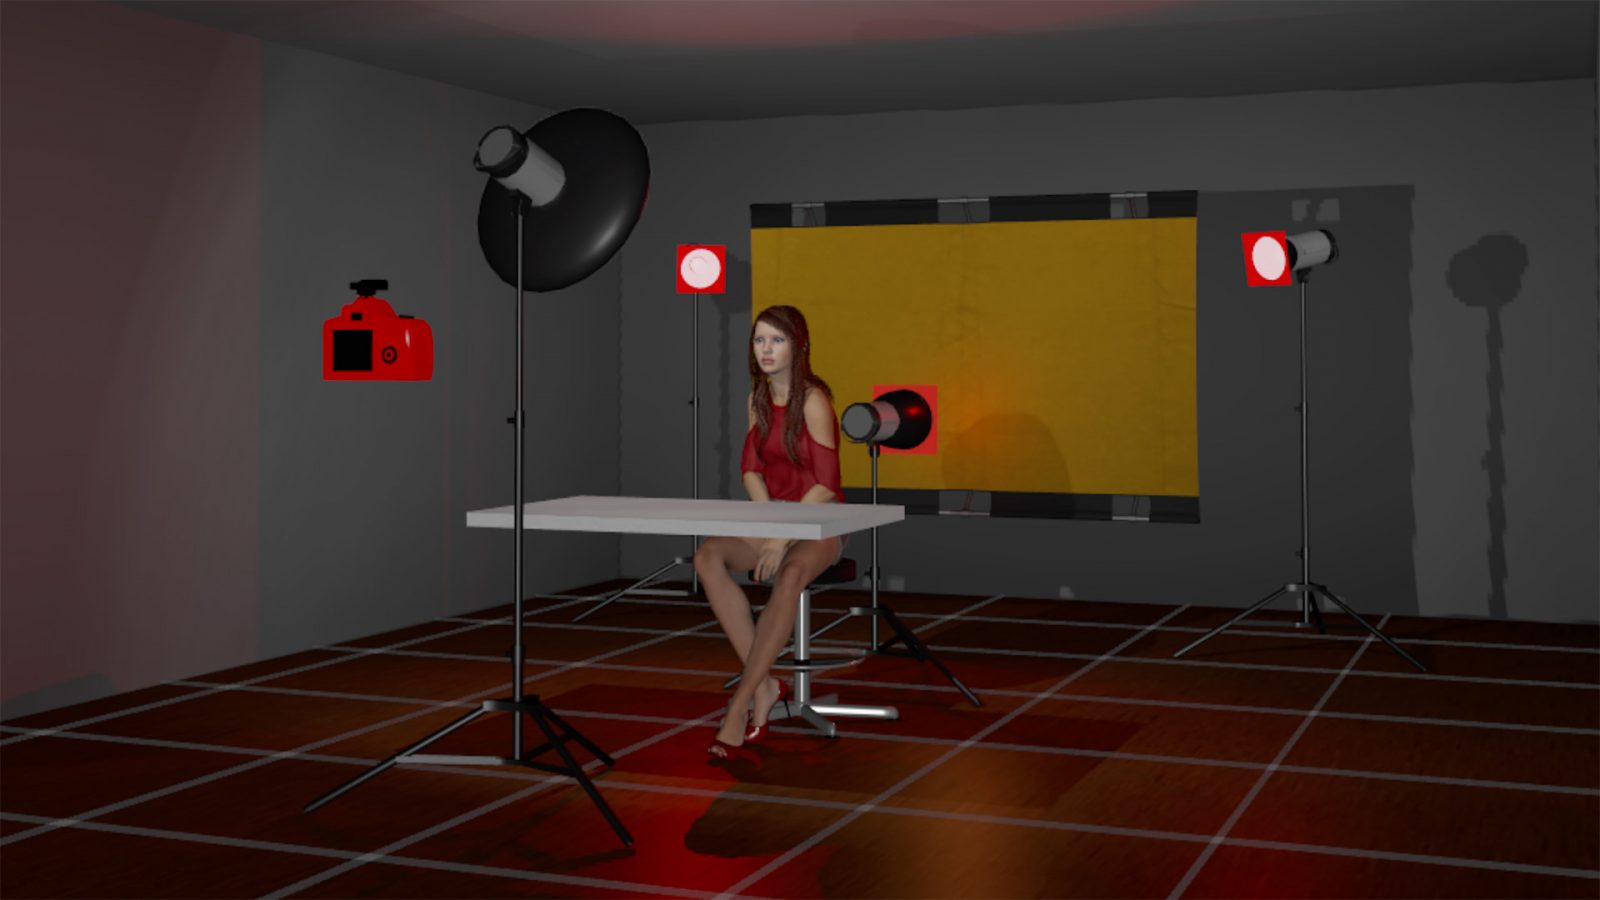
I have my key light in a 30-inch Molight portable beauty dish placed above and slightly to camera left. I am using another white Walmart reflector under my subject for some fill and to create a nice broad, soft catchlight in the bottom of her eyes.
I have my DIY portrait background placed about five and a half feet behind the subject, with another AD200 sitting right behind the subject and aiming at the background.
To add a bit more color, I am using a MagMod grip with a gel holder and red gel. Adding this red brings the background color closer to my subject’s shirt color, which makes her stand out more in the image.
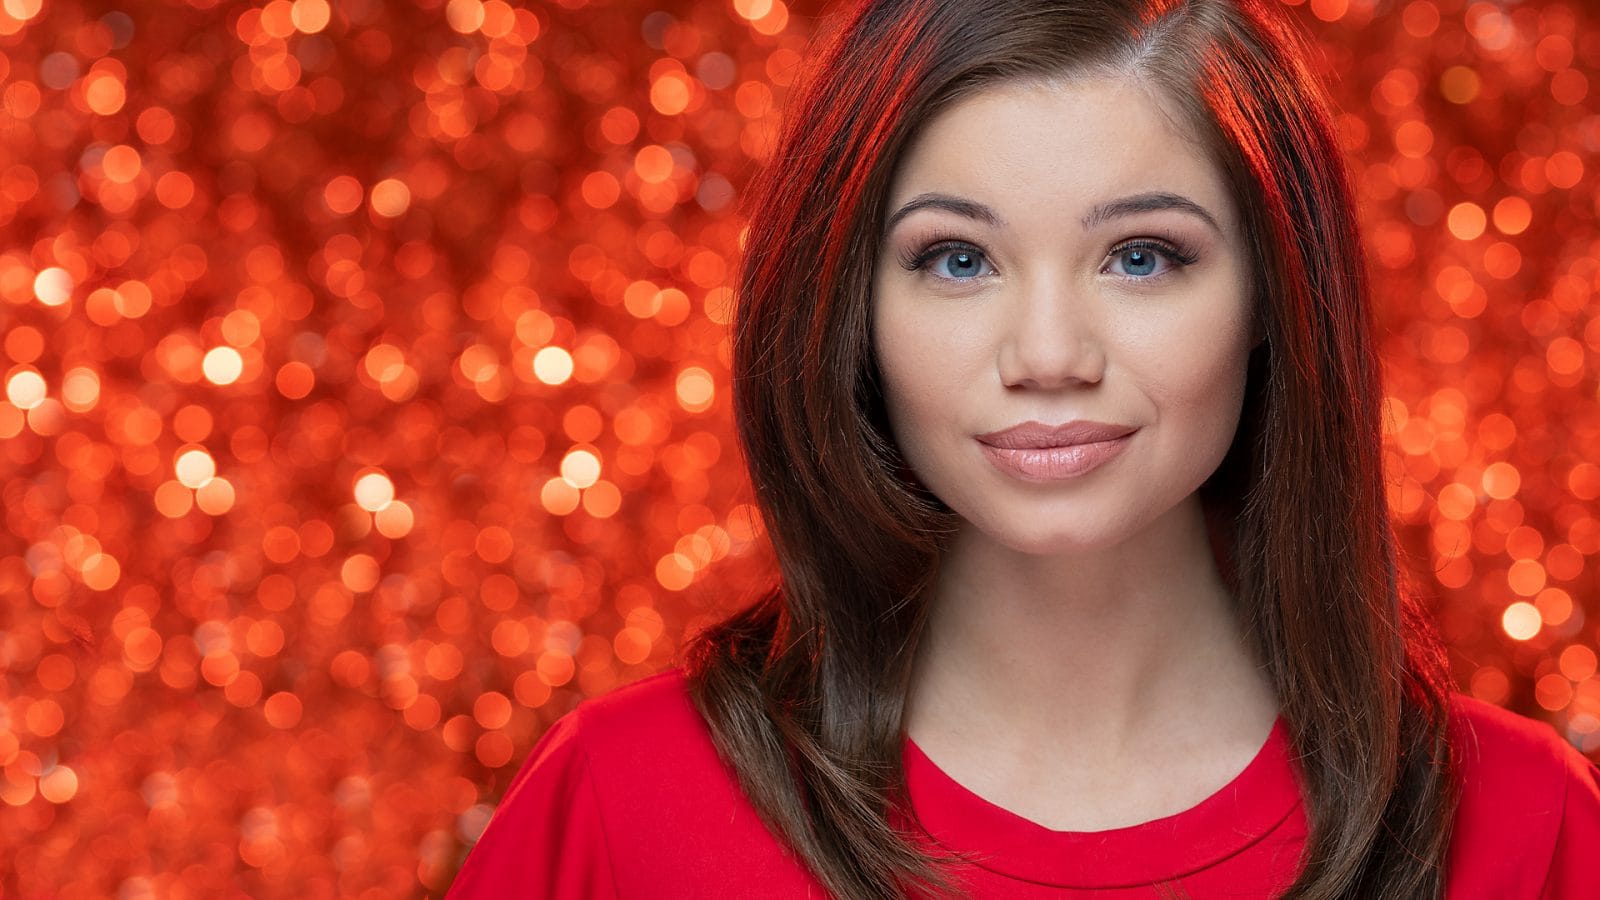
I also got a little carried away and added two more Godox AD200s, one on either side behind my subject and aimed towards her head, also with MagMod gel holders and red gels. These last two lights give me the red accent on her hair.
The Gear and Depth of Field
I shot these images with the Olympus OM-D E-M1 Mark II and the M.Zuiko 75mm f1.8. The video below shows the cameras about 6 feet from the subject. I shot these at ISO 200 and an aperture of f/2.8.
Contrary to popular belief, you can get bokeh balls with a micro-four-thirds camera, and you can do it even when your lens isn’t wide open. You see, there is much more to depth of field than blurry backgrounds and shooting at f/1.8 or wider.
Don’t forget focal length and focal distance
The 75mm focal length at a close distance provides me with enough depth of field to not worry about keeping my subject’s eyes in focus, but it also makes the field shallow enough to give me the cute little ball reflections from the garland.
Work The Shot
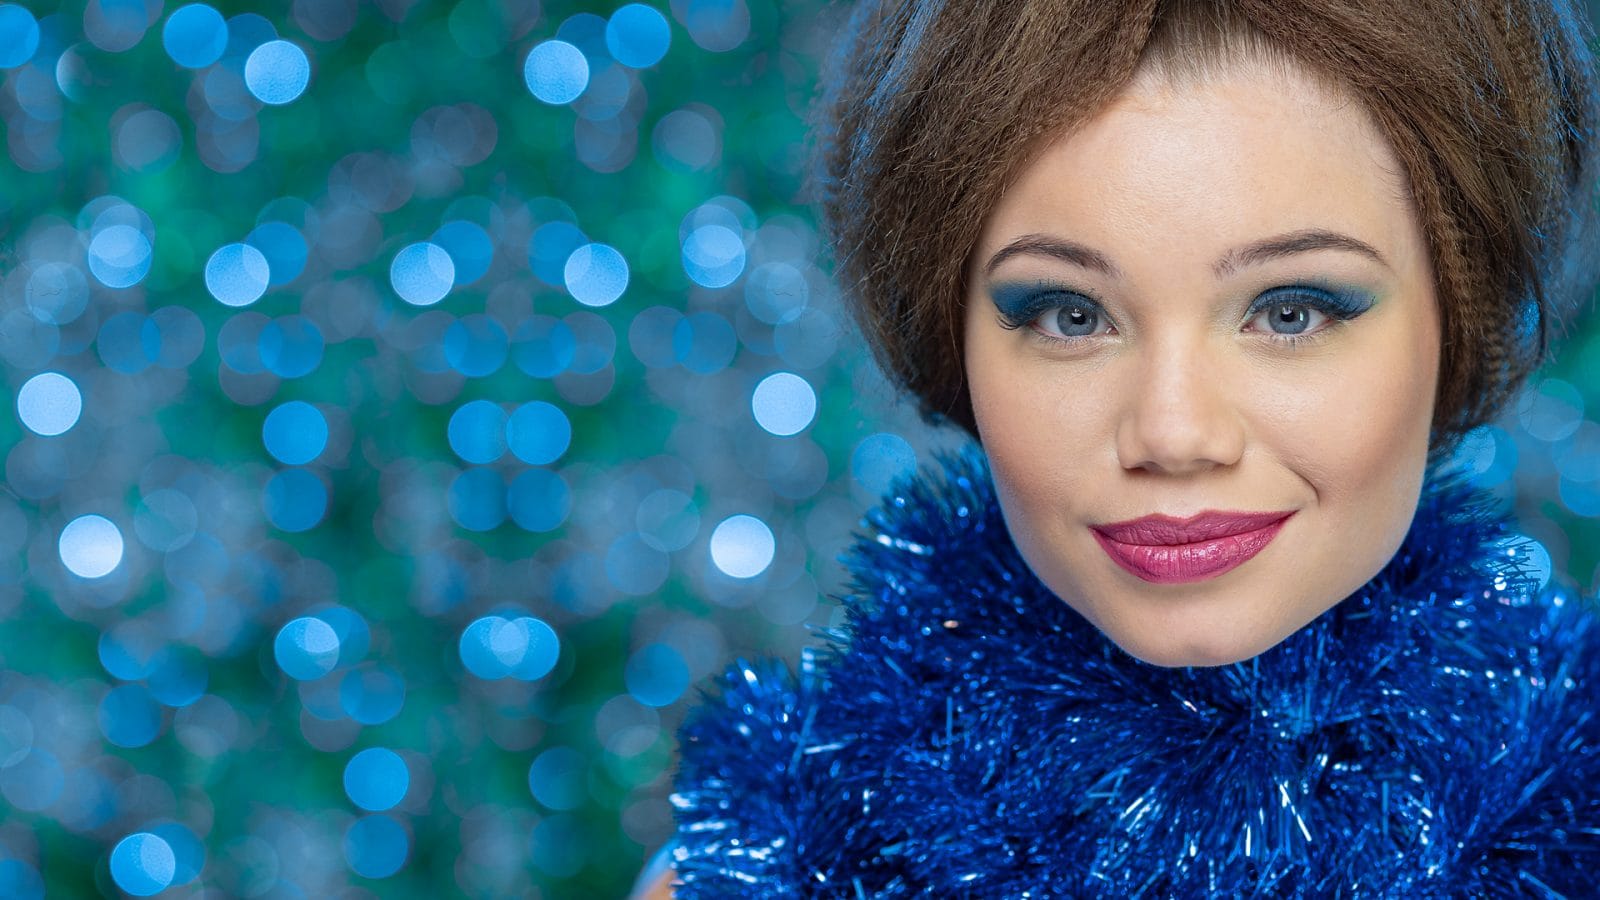
As always, I wanted to see where I could go with this DIY portrait background concept. So I decided to work the shot and switch to a blue gel for the rim lights and background, but then I didn’t really like how much the red blouse stood out.
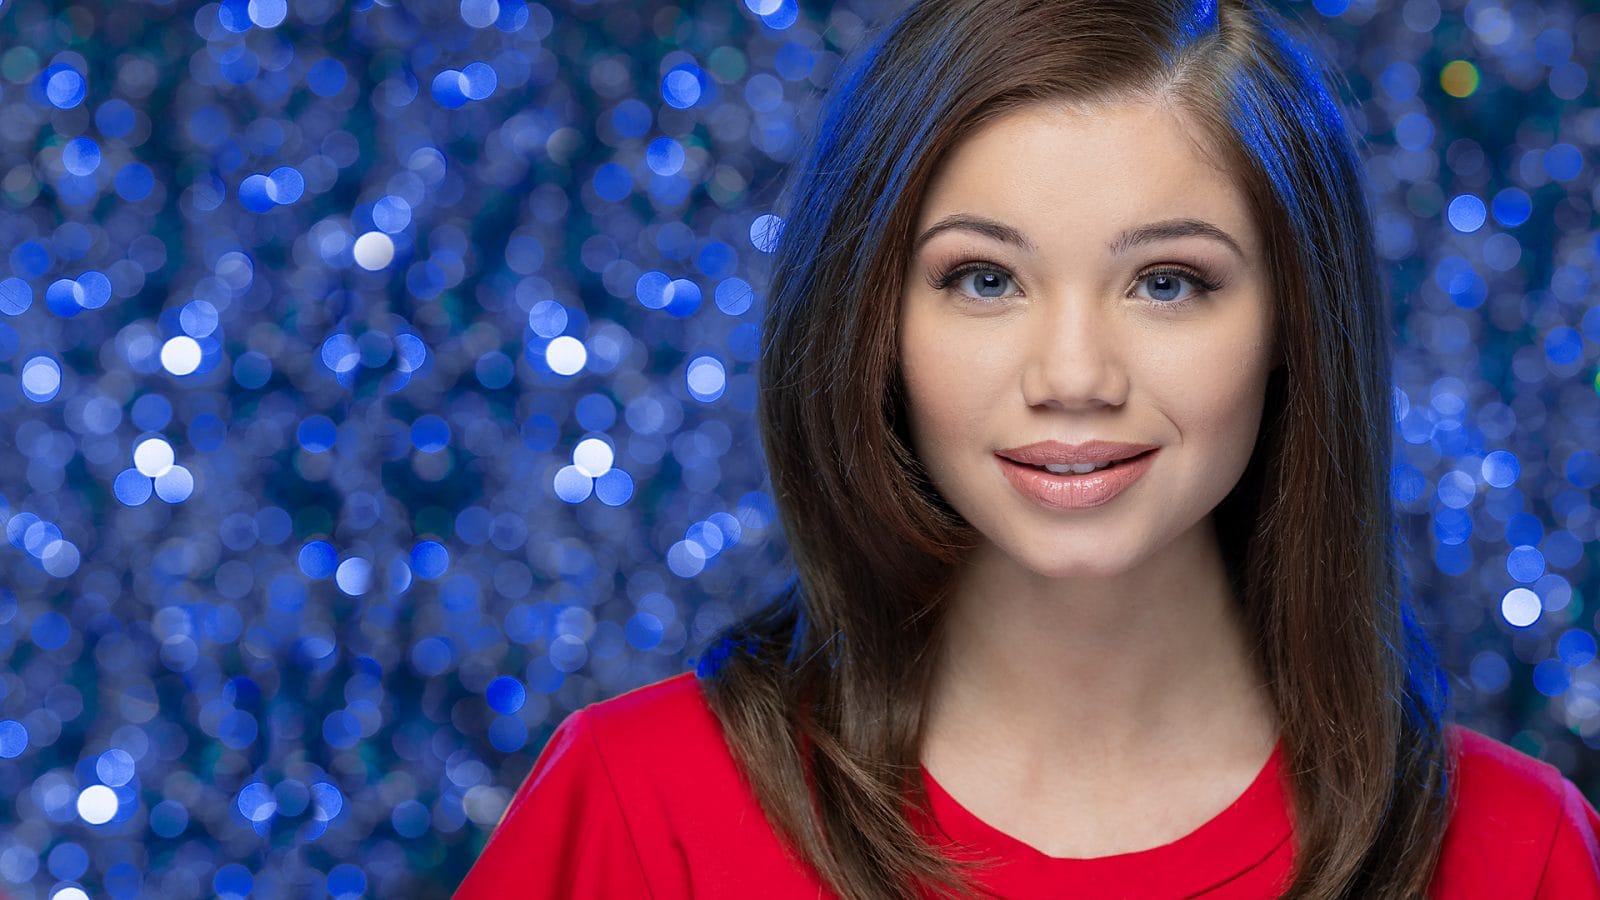
Then, I had my subject put on a simple tube top, so I had bare shoulders, and my makeup artist put her hair in a quick updo.
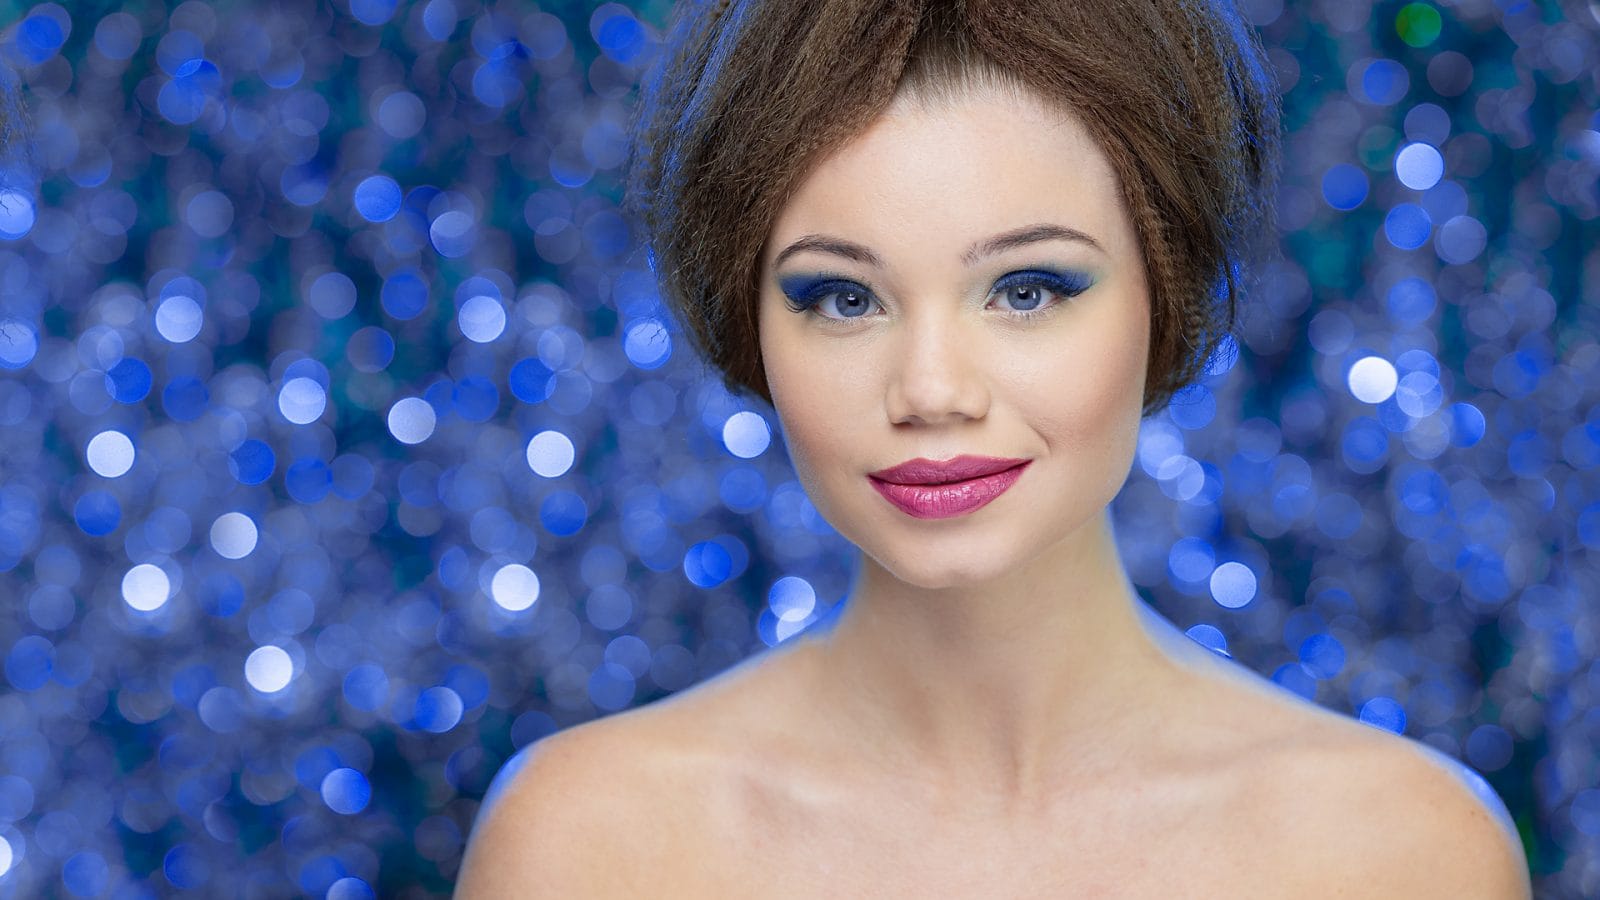
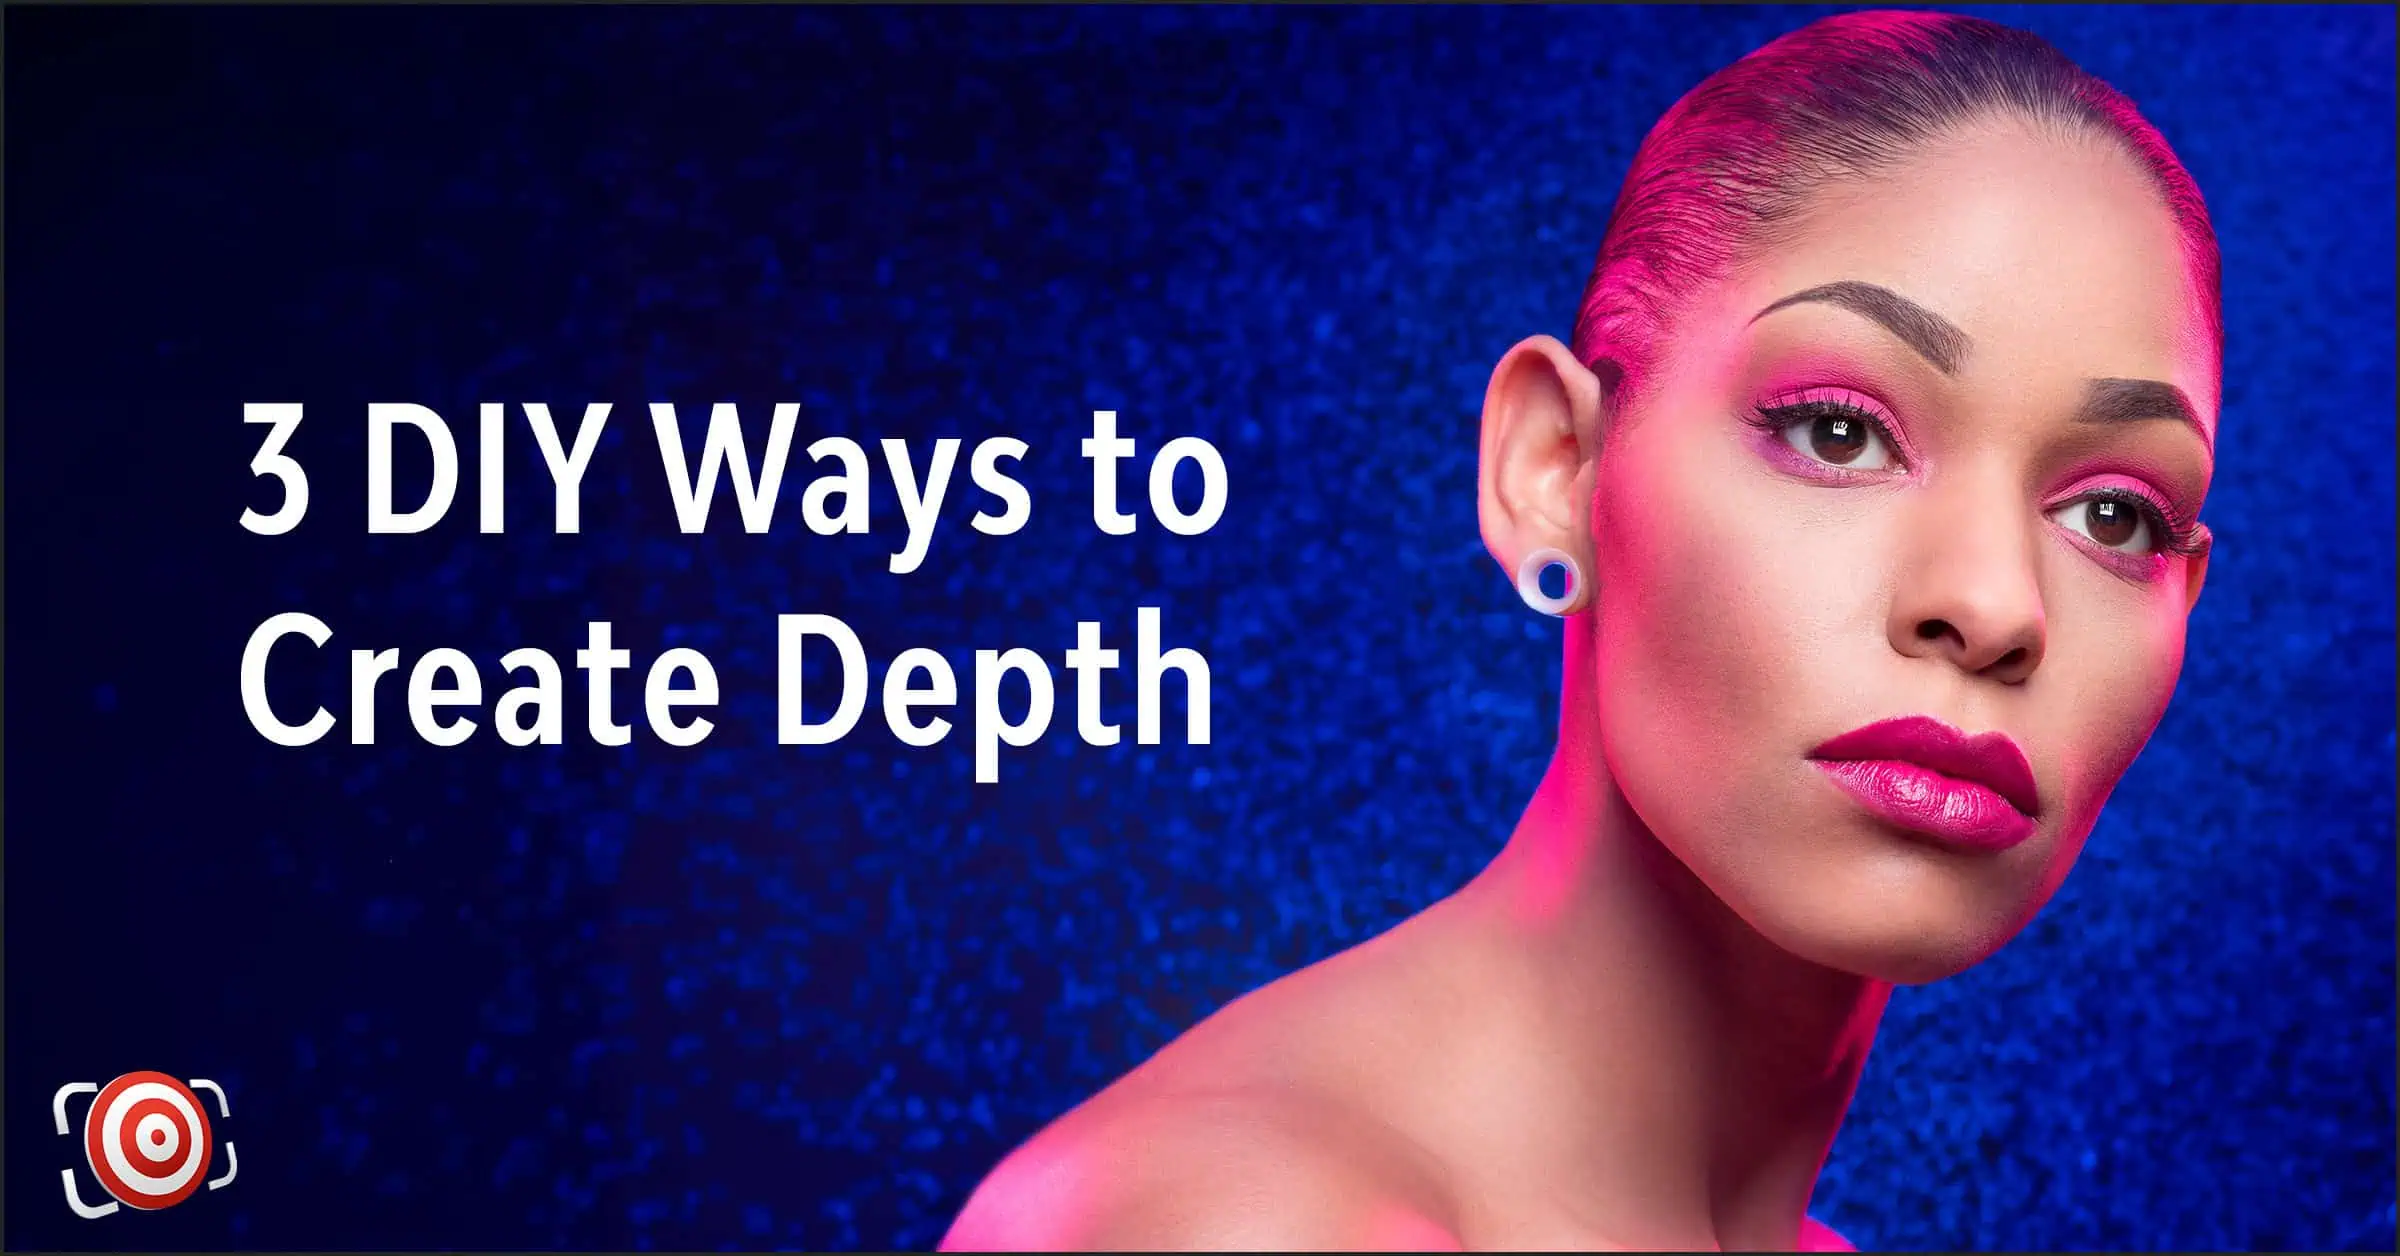
Now, I felt that there was just too much skin at the bottom, and I figured that since I was working with garland… and had also bought some blue garland at the store… why not wrap my model in it?
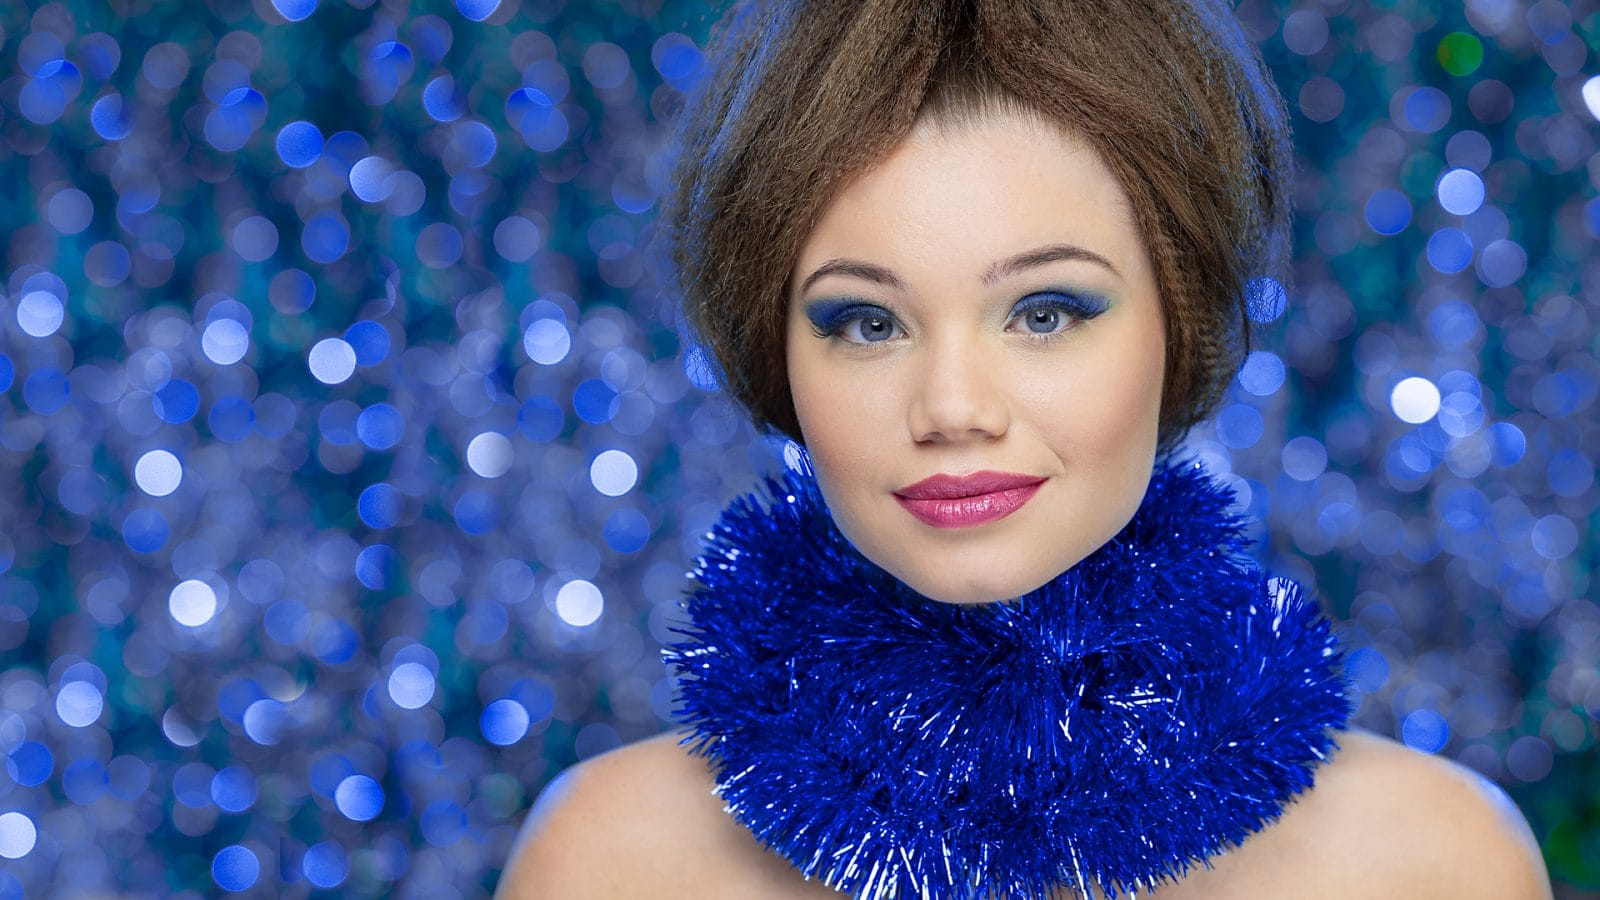
So I tried a few variations, from a single strand to several to covering all of her shoulders.
My Top 3 Tips for Great Holiday Photos
- Holiday photos almost always involve kids. Get down low and shoot at their level. Shooting at eye level always creates a stronger connection with your subject. You seem more intimidating when you tower over your subjects with a camera in hand.
- Avoid flash! Cameras have multiple ISO settings for a reason. Raise it. Yes, you may have a little digital grain in your photos, but the images will feel more real and “in the moment.” Flash is distracting, and unless you are going to set up multiple lights, they tend to be harsh and boring.
- Remember, “POSE” is a four-letter word. “Smile” and “Cheese” are more than four letters but are equally bad. Great holiday images are about emotional moments. It is your job to record them. So, even if you are setting up a more formal holiday portrait, work hard to put your subjects at ease and to have fun with them so that your images show relaxed and happy subjects who aren’t stiff with forced smiles.
For more cool holiday photo ideas, check out my Olympus presentation, “Tips and Tricks for Creative Holiday Portraits.“
I hope you found this information useful. Now go pick up that camera and shoot something! Because — “Your BEST shot is your NEXT shot!” — Joe Edelman