Table of Contents
Your digital camera is remarkable. Modern camera bodies can analyze a scene in milliseconds, evaluate light from thousands of points across the frame, and arrive at a technically acceptable exposure under almost any conditions. The one thing they cannot do is understand what you are trying to say with the photograph.
That is the gap the masters lived in.
I have long studied the working methods of the masters, drawing on interviews, published accounts, and books, focusing specifically on how they approached exposure. Did they start with aperture? Shutter speed? Did they follow a formula? The answers surprised me, and I think they will surprise you, too, because the question they were actually answering was never about settings at all.
The Question Nobody Asks Anymore – Why?
When was the last time someone asked what your intent was before asking what your settings were?
Probably never, because photography education has spent decades teaching exposure backward. We teach photographers how to read a histogram, how to work a meter, how to navigate shutter speed and aperture – and we call that understanding exposure. The masters started somewhere completely different.
They started with the image they wanted to make.
Think about what that actually means in practice: if you know what you want the image to look like, you already know which variable matters most in that moment. Exposure decisions stop being arbitrary technical problems and become creative decisions with technical implementations. That shift in thinking is everything.
What Ansel Adams Actually Did
I don’t believe anyone is cited more in conversations about exposure than Ansel Adams. The Zone System, which he co-developed with Fred Archer around 1939, is frequently referenced, usually as a technical tool. What gets lost in that conversation is that the Zone System is not fundamentally about zones. It is about visualization.
Adams started every photograph by asking what he wanted the final print to look like. He would meter the scene, identify where the tones fell, and decide how he wanted to render them before he ever touched a dial. The settings were the last step in a process that began entirely in his head.
For static subjects like landscapes, that process led him to aperture first. He needed a specific depth of field to render the detail he had already visualized, and he built the rest of the exposure around that. Keep in mind that virtually all of Adams’ well-known work was shot on a tripod with a large-format camera.
Adams put it plainly: “Dodging and burning are steps to take care of mistakes God made in establishing tonal relationships.” The exposure decision was made before the shutter was triggered, and the darkroom work that followed was the finishing of what he saw in “his mind’s eye.”
What Henri Cartier-Bresson Actually Did
Henri Cartier-Bresson always set his shutter speed first. He shot with a 35mm Leica camera in uncontrolled environments and spent his career chasing what he called the decisive moment – that brief, unrepeatable instant when everything in the frame aligns.
He would preset his shutter speed at 1/100 to 1/125 of a second. Aperture was the variable he adjusted based on light, typically f/5.6 or f/8 in shade. Keep in mind that ISO (then called ASA) was predetermined by the film he loaded into his camera.
Digital changed that. ISO is now a free variable, which means you have three decisions to make instead of two — and no film constraint to simplify them. That makes intent-first thinking more important than ever.
Cartier-Bresson was quoted as saying, “Think about the photograph before and after, but not during. The secret is to take your time but also to be very quick.”
He anchored shutter speed because his work demanded it – you cannot chase life while simultaneously calculating exposures. By presetting the variable that controlled motion and adjusting the aperture to the light, he freed all of his attention for the human beings in front of him.
That is what mastery looks like.
Pro Tip: HCB’s approach works because shutter speed and aperture don’t do the same job. Shutter speed controls whether something is frozen or blurred. Aperture controls the amount of light passing through the lens and the depth of field. Choosing which one to anchor first is a creative decision, not a technical one.
The Meter Is Not the Authority
Here is something that came up repeatedly across my research, and it is one of the most practically useful things you can take from studying the masters: multiple photographers across different eras and completely different genres described using their meters to confirm their intuition, not to form it.
Edward Weston wrote that he disliked figuring out exposure and found his results “more accurate when only felt.” He eventually acquired a Weston exposure meter and used it to measure the light in his working area, but described putting it away after checking it and doing what he thought was right. The meter was a reference, not an authority.
Yousuf Karsh said essentially the same thing. He read his exposure meters periodically, “but only if I think the reading coincides with what I feel it should be.” When working under familiar studio conditions, he trusted his eye over the instrument. His technical process was disciplined – he always established his key light first, then organized the fill light around it – but, with enough experience, his visual judgment outperformed the meter.
Minor White, who taught the Zone System after studying with Adams, described the mental process with unusual honesty: “Exposure occupies my mind while intuition frames the images.” The technical and the intuitive ran simultaneously, each doing its own job. One handles the physics; the other handles the art.
What Heisler Figured Out About Flash
Gregory Heisler gave us one of the clearest explanations of exposure with flash I have ever read. In his book 50 Portraits, he described the relationship this way: “The shutter speed acts like a rheostat for the background, while the aperture is like a rheostat for the flash.”
That single sentence clears up something that has confused photographers for years. When you are working with a strobe, shutter speed and aperture are not competing for the same job. Shutter speed controls how much ambient light contributes to the exposure. Aperture controls the flash output relative to the subject.
Heisler starts by deciding what relationship he wants between subject and background – intent first – and that decision tells him where to set his shutter. Everything else follows from there.
Aperture-First or Shutter-First – the Honest Answer
The honest answer is that the right starting variable depends on what you are shooting. Adams, Weston, and Karsh – photographers working in controlled environments where depth of field was a primary creative consideration – worked aperture-first. Cartier-Bresson and Joel Meyerowitz on the street, photographers working in uncontrolled conditions with moving subjects, worked shutter-first.
Subject matter drove the leading variable. That is the most accurate way to say it.
But here is the follow-up question that matters for most photographers reading this: what leads you, most of the time? If your subjects move – and even people who are standing still breathe, shift, and blink – then motion is your most immediate problem, and shutter speed is your only control over it.
Why I Start with Shutter Speed and Recommend That You Do The Same
This is my opinion, and I am flagging it as such. After 55 years of making photographs across virtually every genre, I recommend that beginners and intermediate photographers build a shutter-speed-first workflow, and here is the reason: the most visible mistake in most photographers’ work is motion blur they did not intend. Not shallow depth of field, not a slightly underexposed background. Unintended blur.
You can recover a stop of under- or overexposure in post-processing. You cannot unblur a photograph. When a subject is blurry in a way that reads as a mistake, nothing else in the frame can save it; the viewer knows the photographer lost control, even if they cannot explain technically why.
Depth of field, by contrast, reads as a creative choice even when it is imperfect. Nobody looks at a portrait with a slightly soft background and assumes the photographer did not know what they were doing. That is a meaningful distinction, and it is the reason shutter speed deserves to be the first decision you make.
Starting with shutter speed does not mean defaulting to a fast shutter speed. It means making a conscious decision about motion before you think about anything else. Once that decision is made, aperture follows to optimize depth of field, and ISO bridges the gap to achieve the brightness you need.
This sequence also builds a repeatable workflow faster than any other approach I have found. When you begin every exposure decision the same way, the process becomes muscle memory, and muscle memory is what eventually frees your mind to focus on the composition, the moment, and the subject in front of you. That is exactly what Cartier-Bresson was doing by presetting his shutter speed and leaving it alone. The technique becomes invisible, and invisible is the goal.
A Practical Starting Point
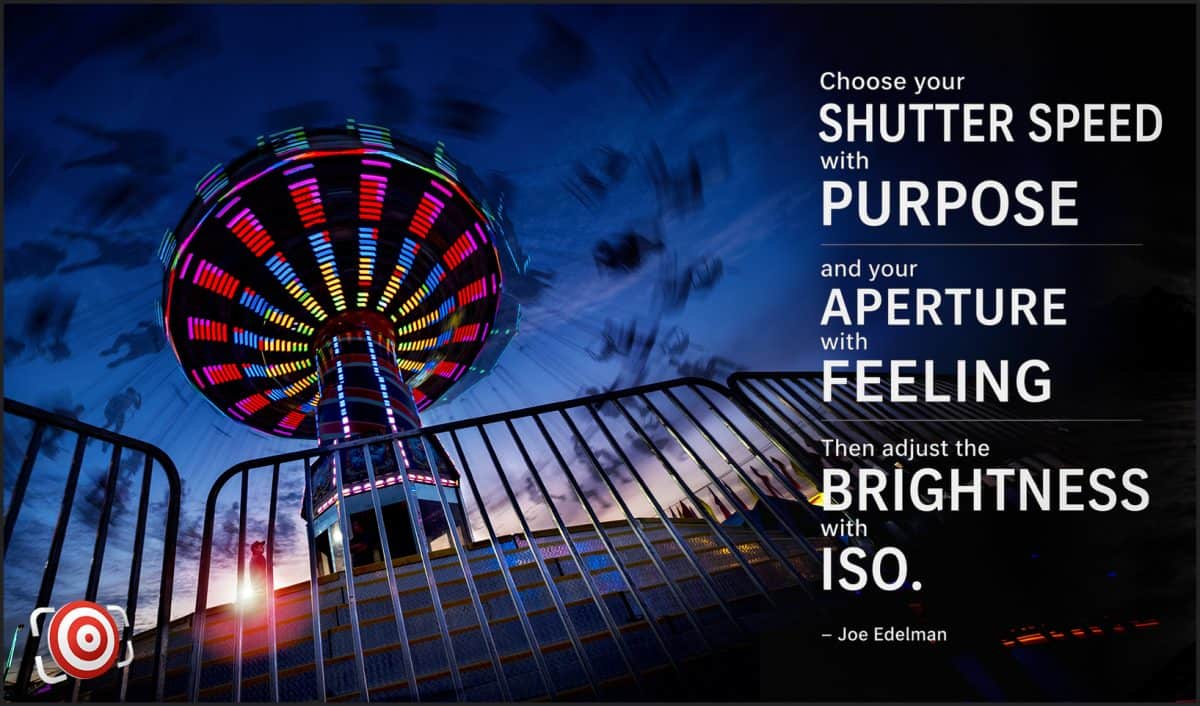
Here is the sequence I use and teach:
- Ask yourself: Is there motion I need to control? Set shutter speed to handle it – at minimum 1/focal length for handheld shooting, and faster from there based on how much the subject is moving.
- Set the aperture to achieve the depth of field you want.
- Adjust the ISO to achieve the desired brightness.
A fourth and last step that you might consider if you are a beginner: Check your light meter. If it agrees with your decisions, great. If it disagrees by more than a stop, figure out why before you shoot. That fourth step is the lesson learned from Weston and Karsh. Use the light meter to confirm, not to decide.
If you work this way consistently, you are building the same kind of fluency those photographers developed.
* 1/focal length means a shutter speed that is at least equivalent to the focal length of your lens. ex: If you are using a 50mm lens, a great rule of thumb is to not use a shutter speed below 1/60th of a second. This will help to prevent camera shake / motion in your photo. It does not account for any subject movement.
What Your Camera Cannot Give You
The technology inside a modern camera body is something photographers in Adams’ era would have found genuinely incomprehensible. Evaluative metering, subject tracking, automatic bracketing – all of it exists to give you a technically acceptable exposure under almost any conditions, and it does that job remarkably well.
None of it can tell you what the photograph should mean.
Adams spent an entire day in the darkroom to produce a single print. Cartier-Bresson waited for a fraction of a second that would never come again. Karsh sat across from his subjects, waiting for the moment of revelation. None of that patience, none of that intent, and none of that vision is something a meter or an algorithm can provide. That part belongs to you.
The masters knew this and built their technical fluency specifically so it could get out of the way. The camera was always the last thing in their sequence, not the first. Start with what you want the photograph to be. Then set the camera up to deliver it.
If you want to go deeper on how exposure decisions connect to the story you are trying to tell, I covered the foundational thinking behind that in Use Purpose and Feeling for Correct Exposure. And if you are still working through the basics of why the exposure triangle does more harm than good as a teaching tool, this piece on the Brooklyn Bridge lays that out from the beginning.
Now go pick up that camera and shoot something! Because – “Your BEST shot is your NEXT shot!” – Joe Edelman